I recently came across Chris Long’s Detection Lab. Detection Lab automates the creation of an Active Directory environment, complete with logging and additional tools. Once deployed it acts as a play area for defenders to practise and test, all whilst capturing the sort of logs you’d expect from any self-respecting business. I can’t tell you how many times I’ve wanted to set up a similar environment but not known where to begin.
However, after trying to deploy the environment, it became obvious that whilst a lot of time had been put into the automation and additional features, not a huge amount was spent on documentation. A statement that some of the project contributors have openly admitted and vowed to rectify. After eventually admitting defeat, I realised that the better solution would be to configure the environments manually. Since the documentation details the endpoints and installed tools, it takes away the main struggle I was facing.

This diagram gives an overview of what a deployed Detection Lab environment should look like. Since I’m creating this manually, I’ll likely omit some of the tools and feed the logs into IBM QRadar Community Edition. To save some time I’ve already created the required virtual machines in ESXi. So, we’ll start by promoting one of the Windows 2019 servers to a domain controller.
Installing Roles & Features
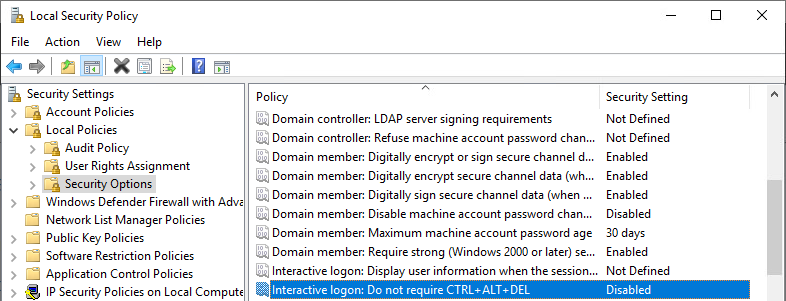
We’ll start small by modifying the Local Security Policy to enable “Interactive logon: Do not require CTRl + ALT + DEL”. This just makes logging into the server a little easier when RDP’ing.
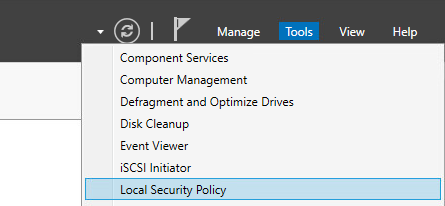
Firstly, head to Tools > Local Security Policy from the Server Manager window.
Then open and enable “Interactive logon: Do not require CTRl + ALT + DEL”, located under Local Policies > Security Options.
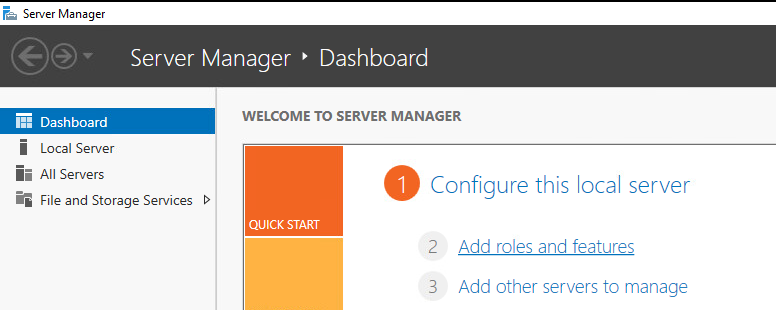
Now that’s sorted, we need to install the services and software required for a DC. We can do this by selecting “Add roles and features” from the quick start section of the Server Manager dashboard.
We’re then presented with two installation types:
Role-based or feature-based installation: This option allows you to select which services/roles you want to install.
Remote Desktop Services installation: This option will select, install, and configure the needed components for the selected scenario.
We'll choose "Role-based or feature-based installation" and keep the default settings on the Server Selection page.
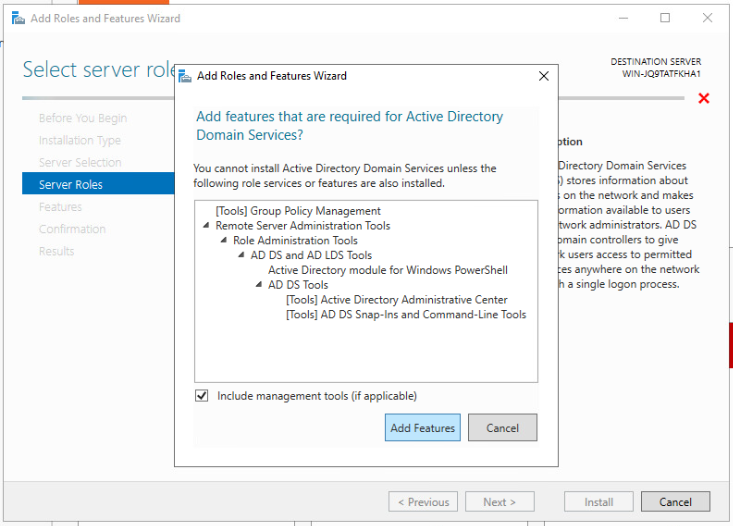
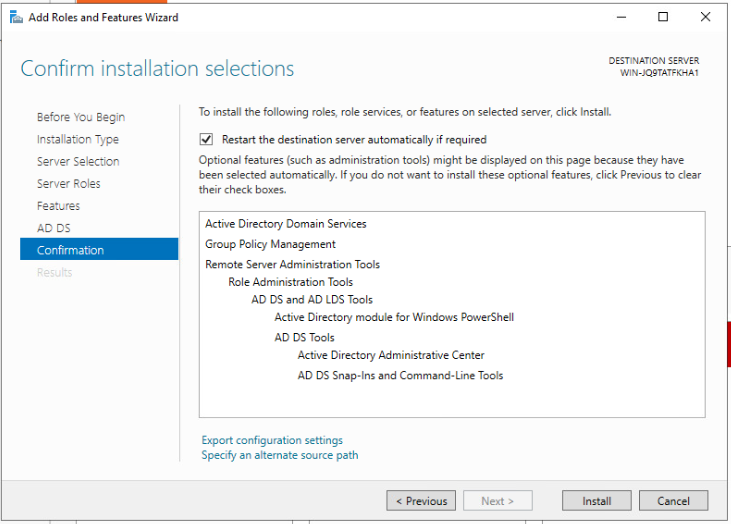
To promote the server to a domain controller we need to ensure that "Active Directory Domain Services" are installed, at the very least.
Configuration
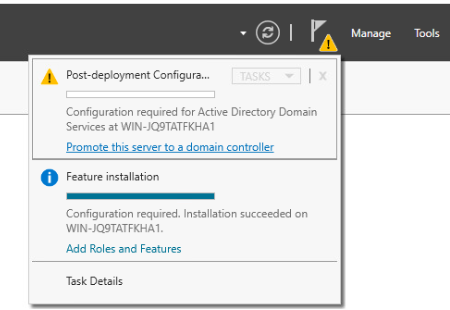
Now that the roles and features are installed, we need to promote the server to a domain controller. First, open the notifications window and select "Promote this server to a domain controller".
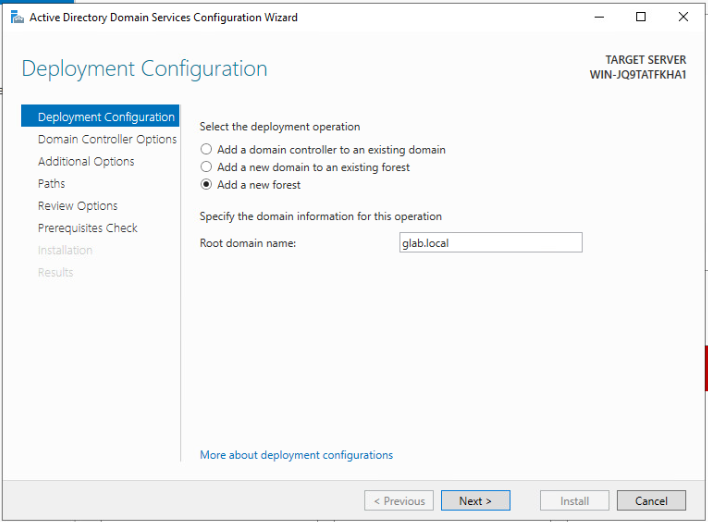
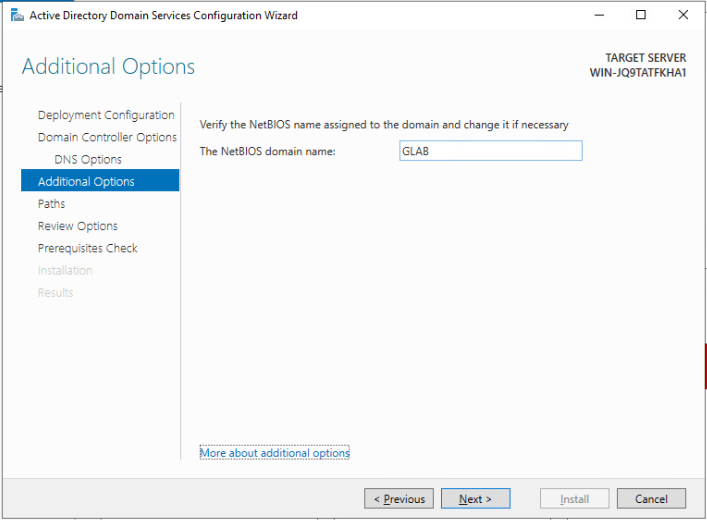
After a few seconds, the NetBIOS name should automatically populate.